Protestants may shudder at the mere mention of the word altar, a word that is inherently tied to the notion of sacrifice, perhaps supposed to be a relic of an ancient Israelite past. Yet every Catholic church has an altar within it, where we believe that the same sacrifice Christ offered which was Himself to the Father and is as eternal as Himself, is re-presented during every Mass. In other words we say, by Christ’s own authority, His flesh is made present to us in the Eucharist. Since this is His sacrificed flesh which we are called to consume, as the Jews of old were to eat the sacrificial lamb, then the Altar in a Catholic Church is the dignified place where the very flesh of Christ is again made present.
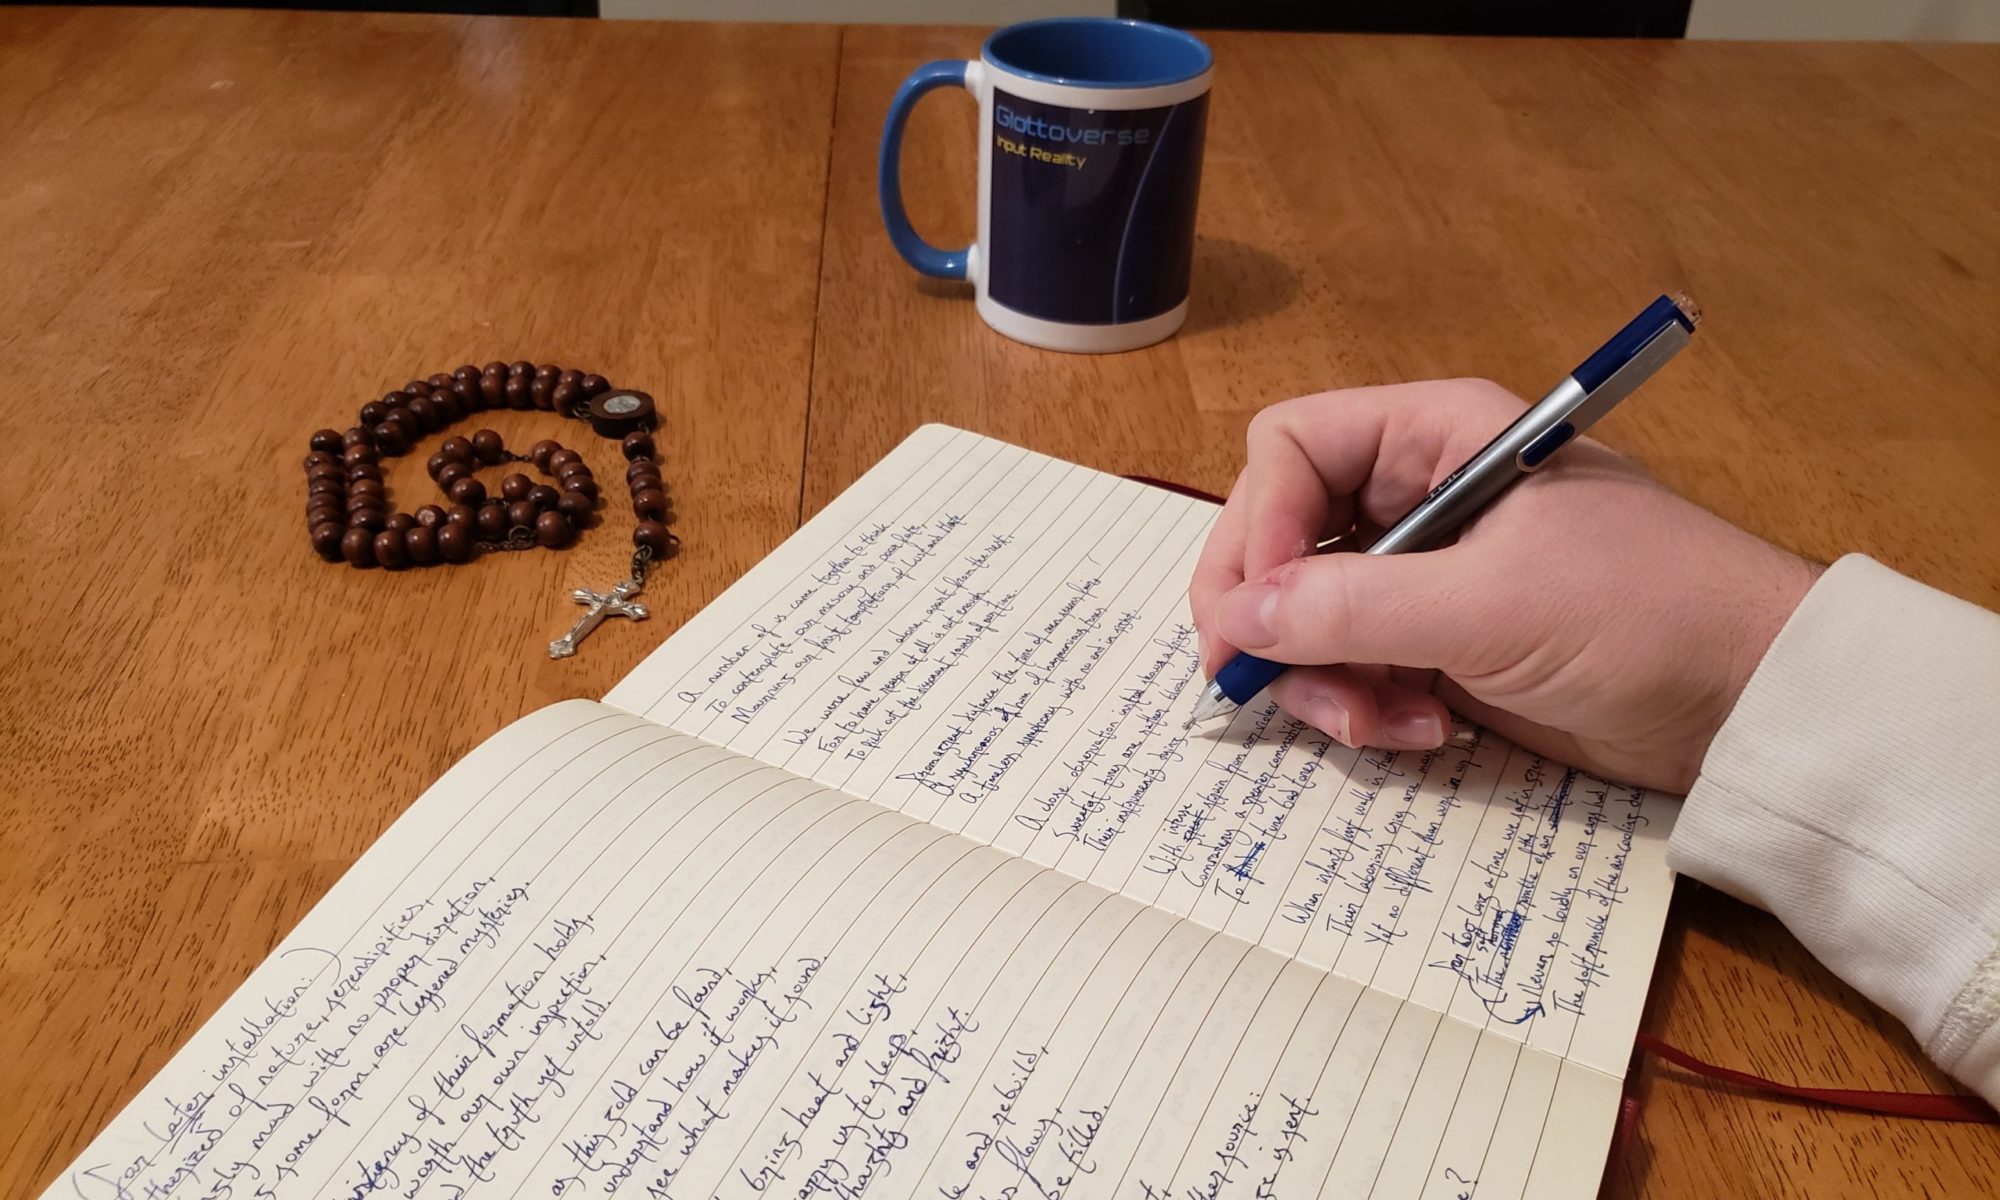
Now this Holy Sacrifice is only ever had under the authority of a priest, as he has particularly been handed the authority through Apostolic Succession, an authority which is sourced first in Christ at the Last Supper. Lay Catholics may not do this on their own as they have not been handed the authority to do so, but we are all called to present ourselves as a living sacrifice (Romans 12:1), and so we ought to find ways to do this. One way we can do this is by offering our prayers, which St. Paul suggests we do without ceasing (1 Thessalonians 5:17). At home we can have our own altar dedicated to prayer, and this is what I have done in our own home.
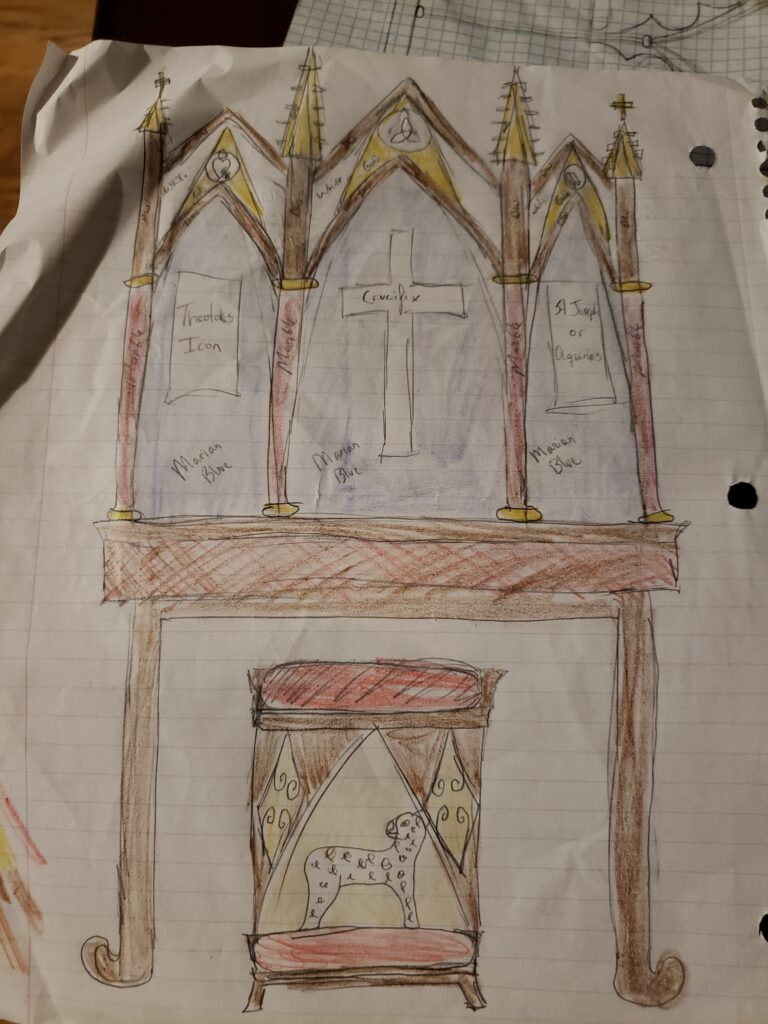
Of course the first place I had to begin was by planning. I drew up some rough plans:
Now, this is where I began:
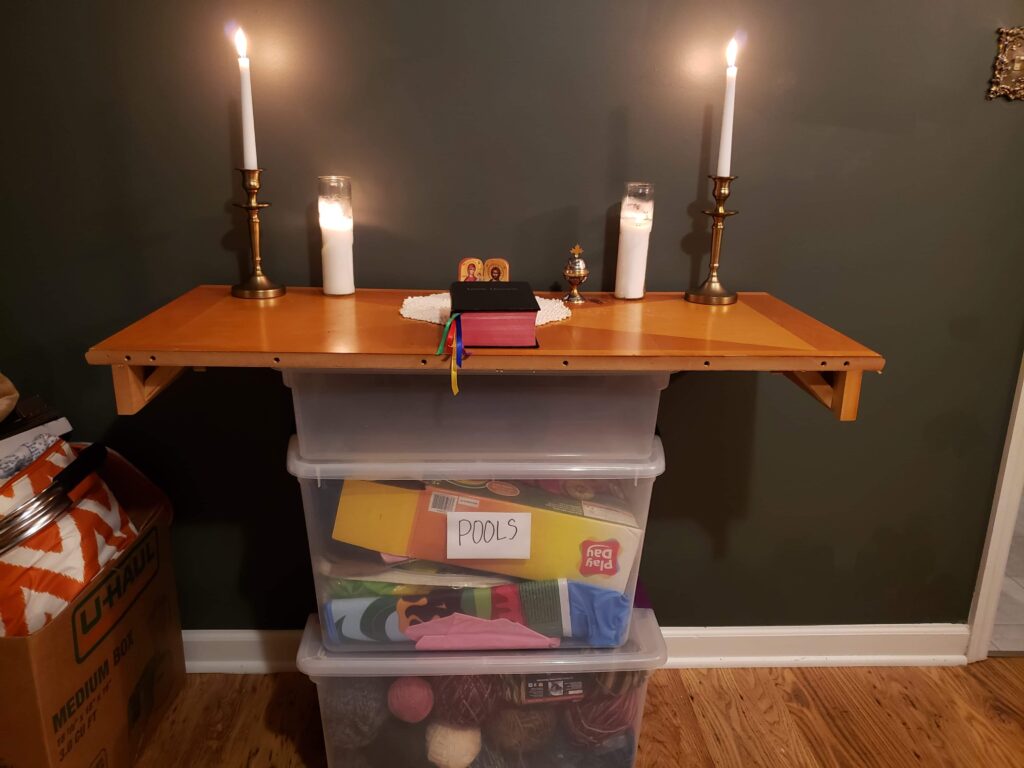
Incredibly modest, using what was available around the house we had just moved into, it was enough. Using a table leaf on top of storage boxes, I set it up with some basics: A diptych as the central focus as well as a few appropriate candles. Of course, this is highly unsustainable. It was only a matter of time before my infant crawled and pulled something down!
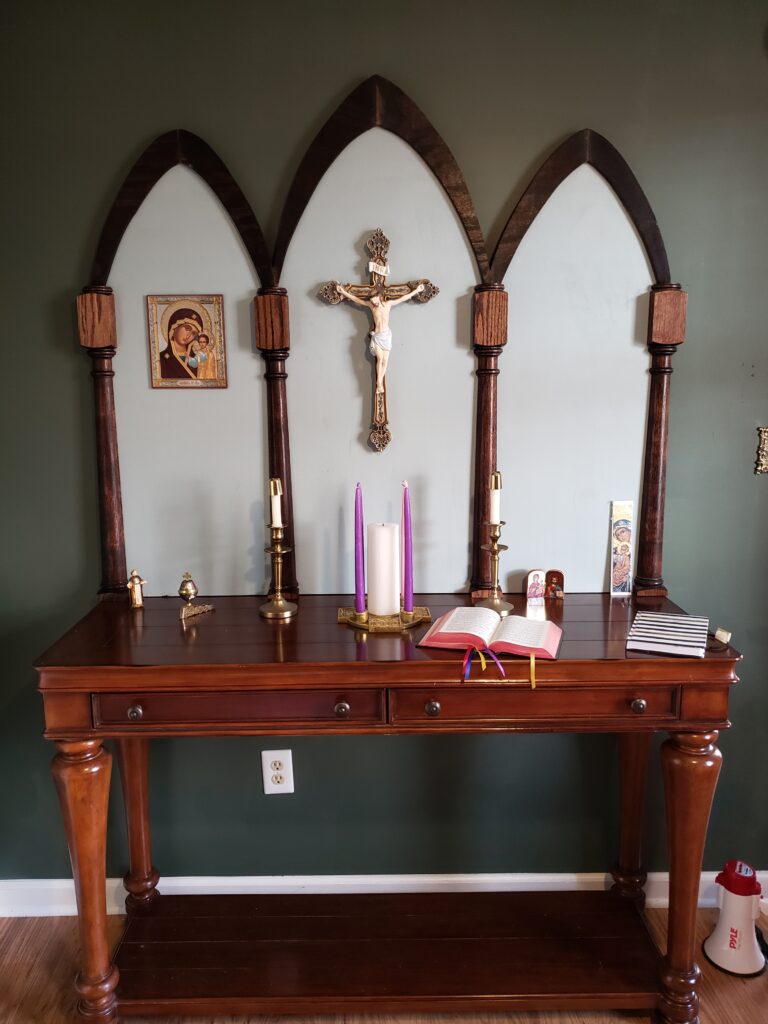
Initially we found a local craftsman who was putting together custom tables from pieces of a building that fell in Nashville after a really large tornado. Ultimately, for a couple of reasons, the plan fell through. Yet nearly as soon as we forwent our deal with the craftsman we stumbled across a lovely buffet table on Facebook Marketplace. That, combined with a crucifix and icon of the Theotokos, really made a big difference.
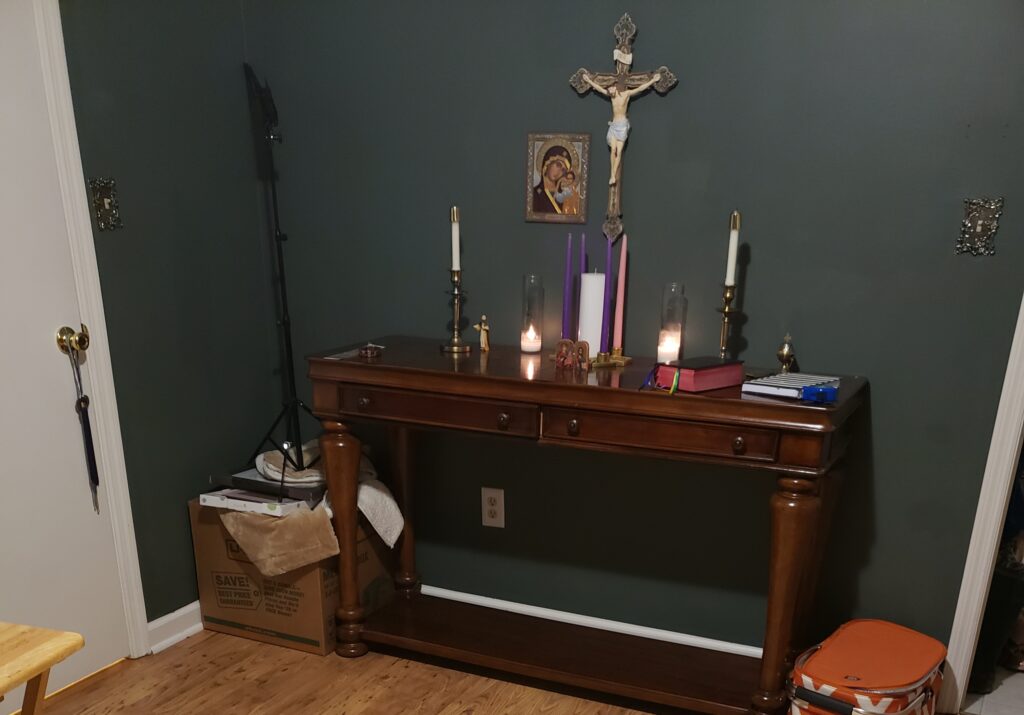
With the buffet table serving as a base I was finally ready to begin on the back, which I generally have referred to as a retable. This is because it sits primarily on the back of the table rather than having support from the ground.
I went to the local hardware store and picked up my next supplies. My plan? Use a smooth-sided piece of plywood as the base and find some molding pieces to serve as columns. I would find a jigsaw to cut out the main shape of the retable as well as form my own molding for the arches from the remaining plywood.
When I got there, I actually found newel posts that had been cut in half length-wise. It was perfect!
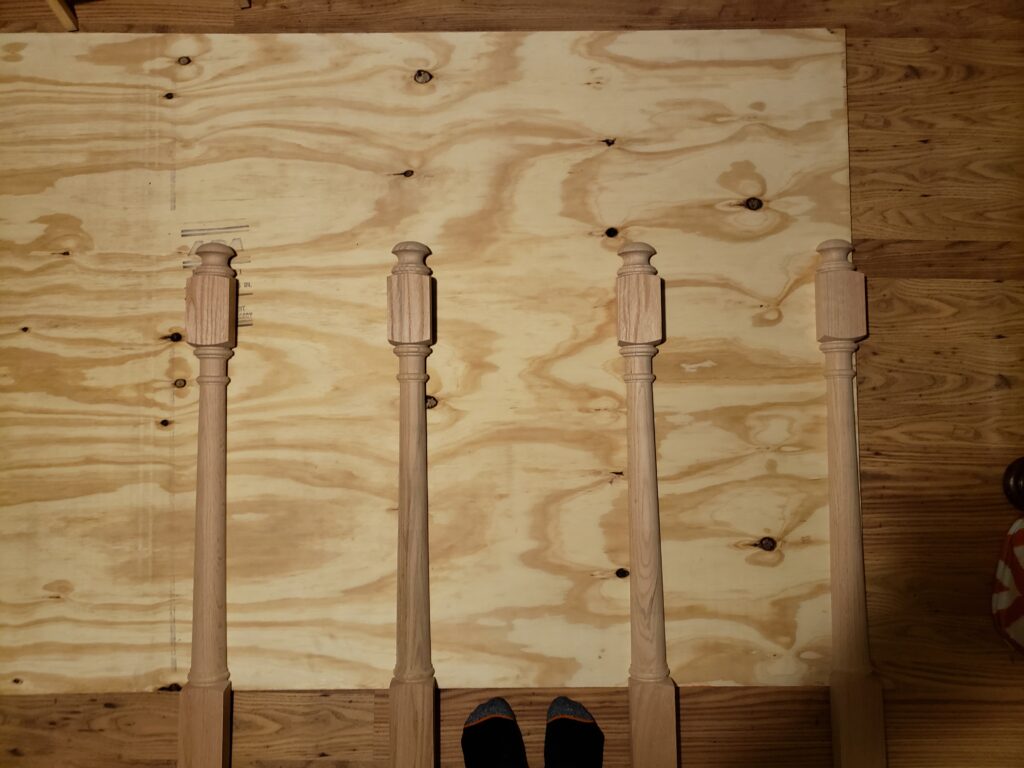
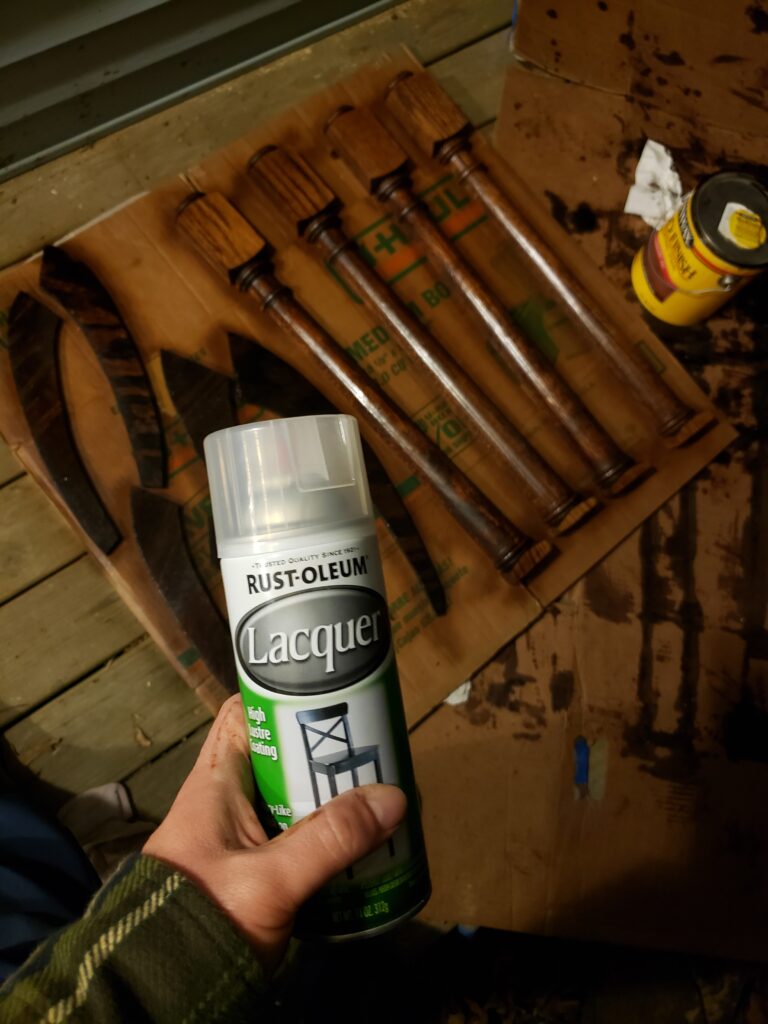
The first thing I did was cut the newel posts down by taking off the heads and most of the bases.

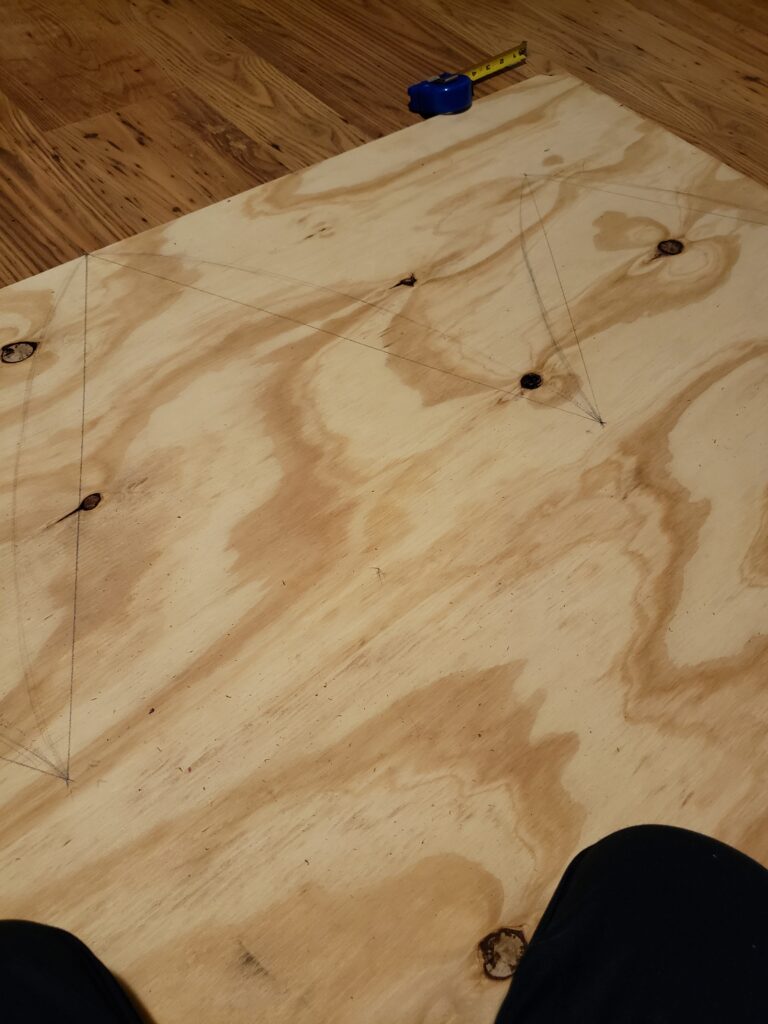
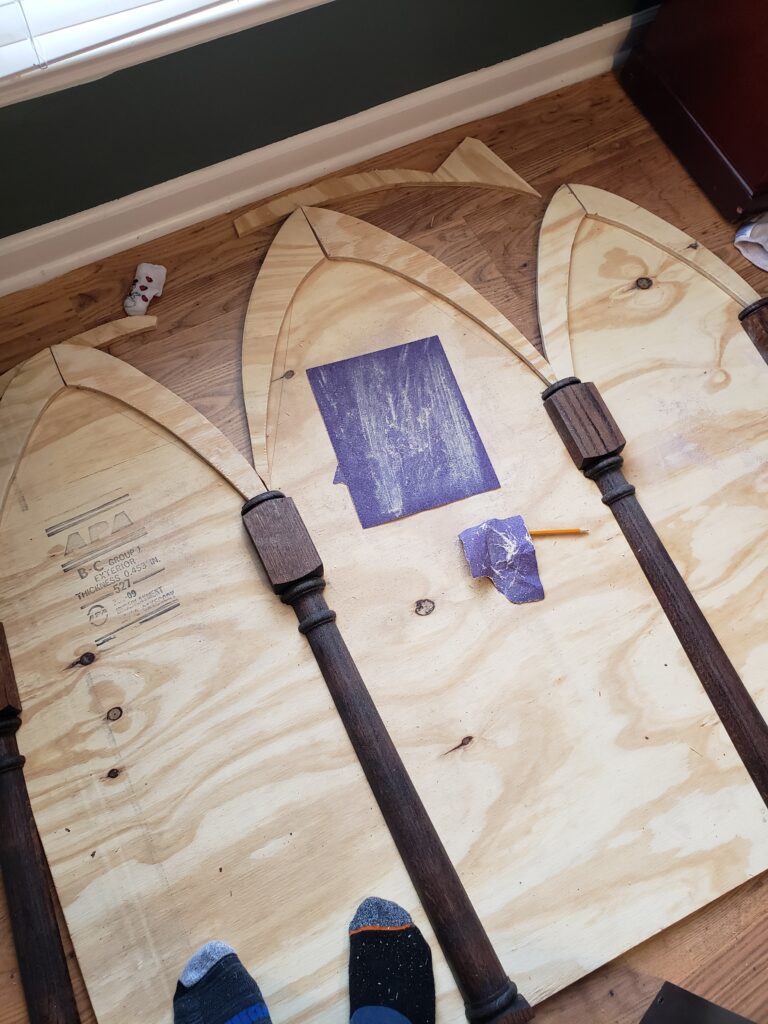
Having a general idea of where the pieces would lay and what I wanted the arches to look like, I went ahead and stained the columns. I also drew out the arch shapes onto the plywood.

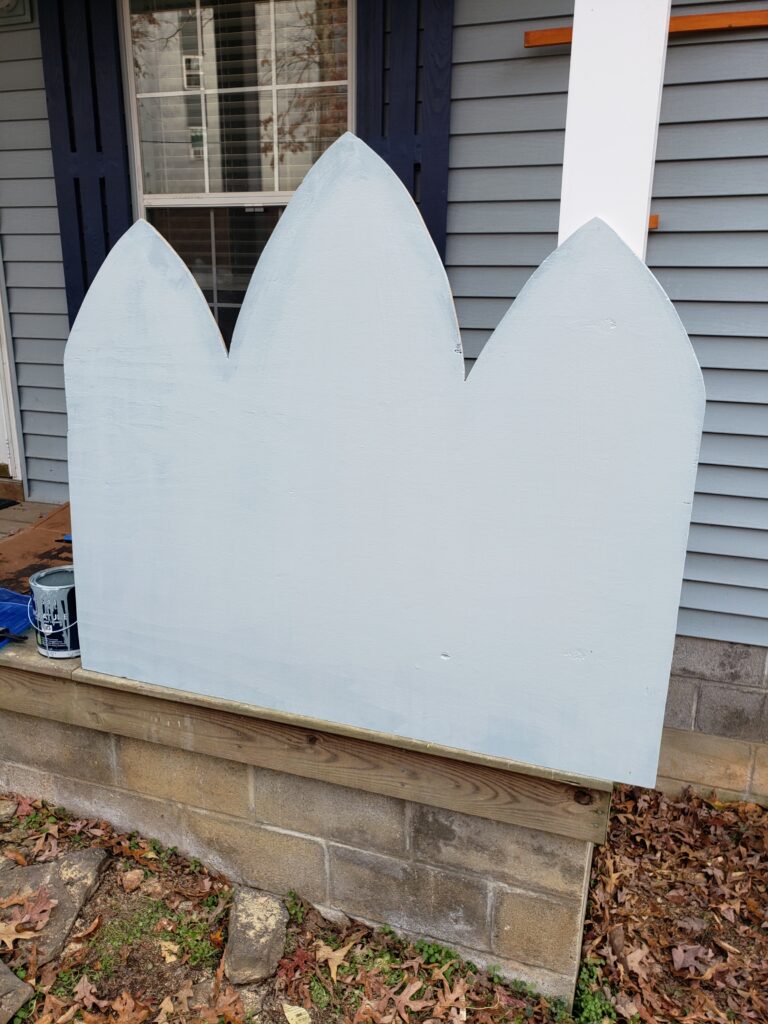
After getting my hands on a jigsaw, which was most generously gifted by a new friend, I got to work cutting.
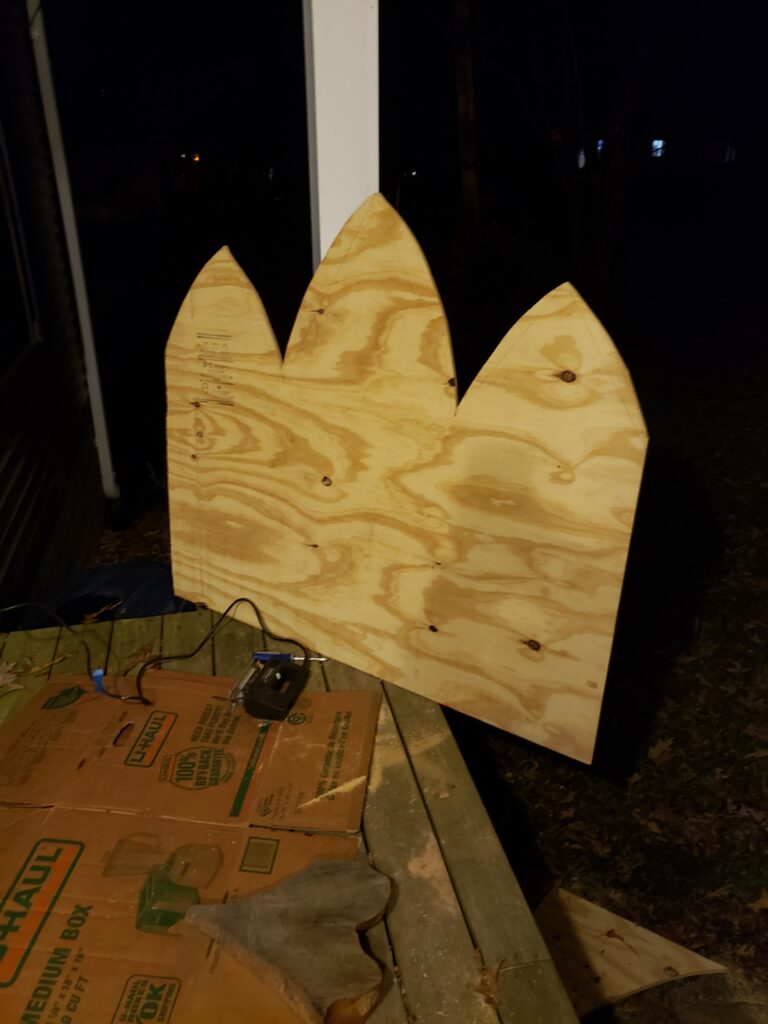
My cuts were far from perfect, but I also knew I would be layering it with some higher trim pieces, so I let it be okay…not that the trim pieces were much better!
Using paper towels I made stencils for the trim pieces.
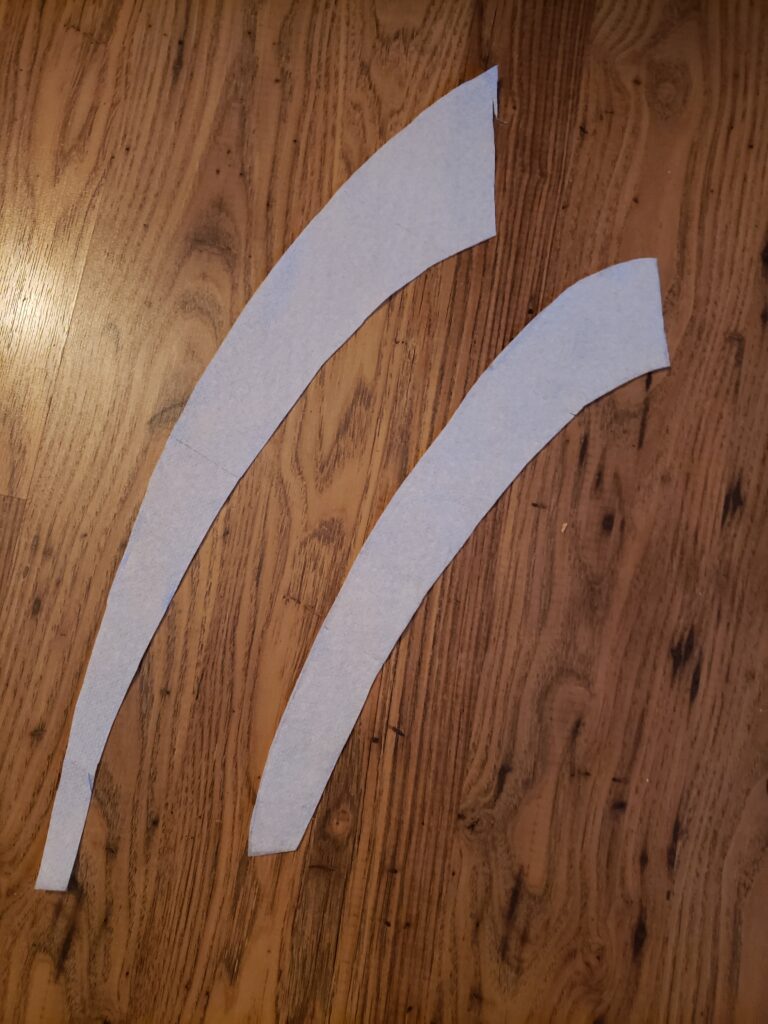
The trim pieces…well…required much trimming. But the result was pretty neat! I prioritized the fullness of the outside arches while cutting the middle arch pieces into finer tips so that the result was a mostly-seamless connection between the arches.
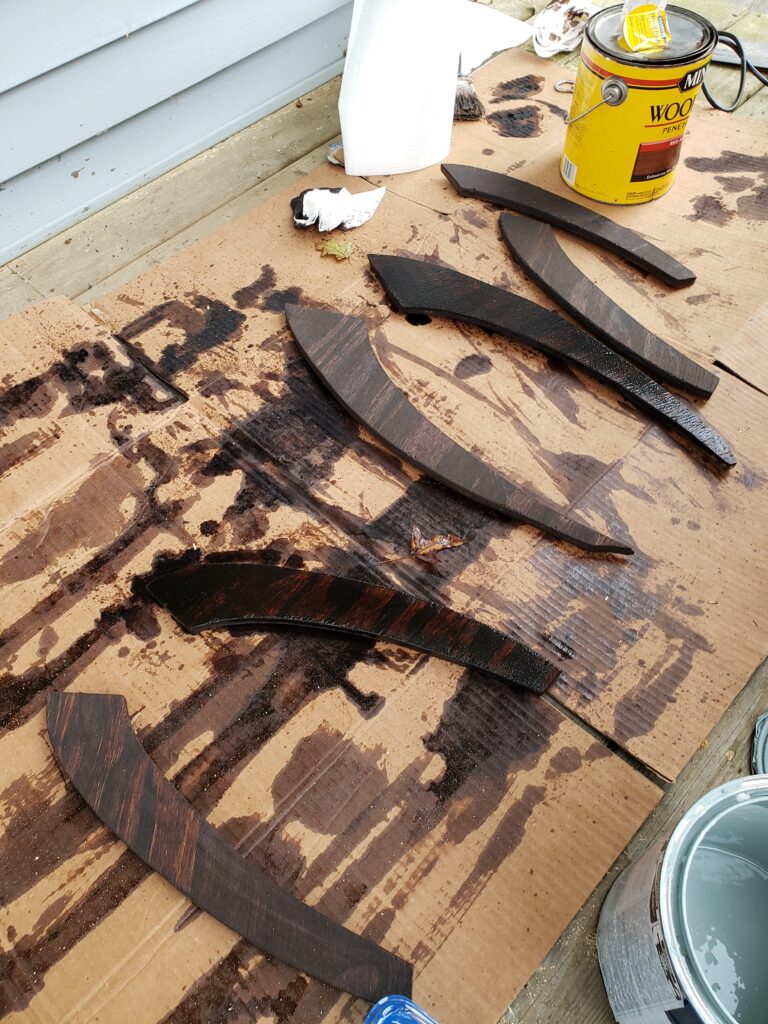
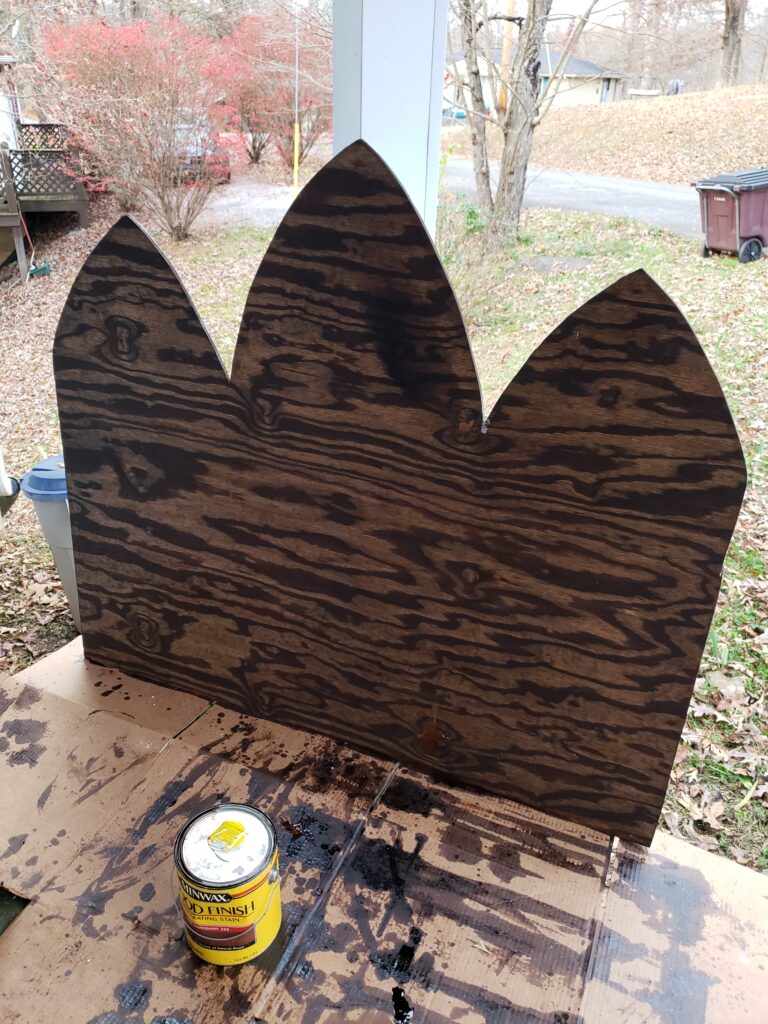
Next was putting stain on the trim pieces and the back of the retable!
In line with the design I began with, I also painted the face of the plywood with a light blue in honor of our Blessed Mother.
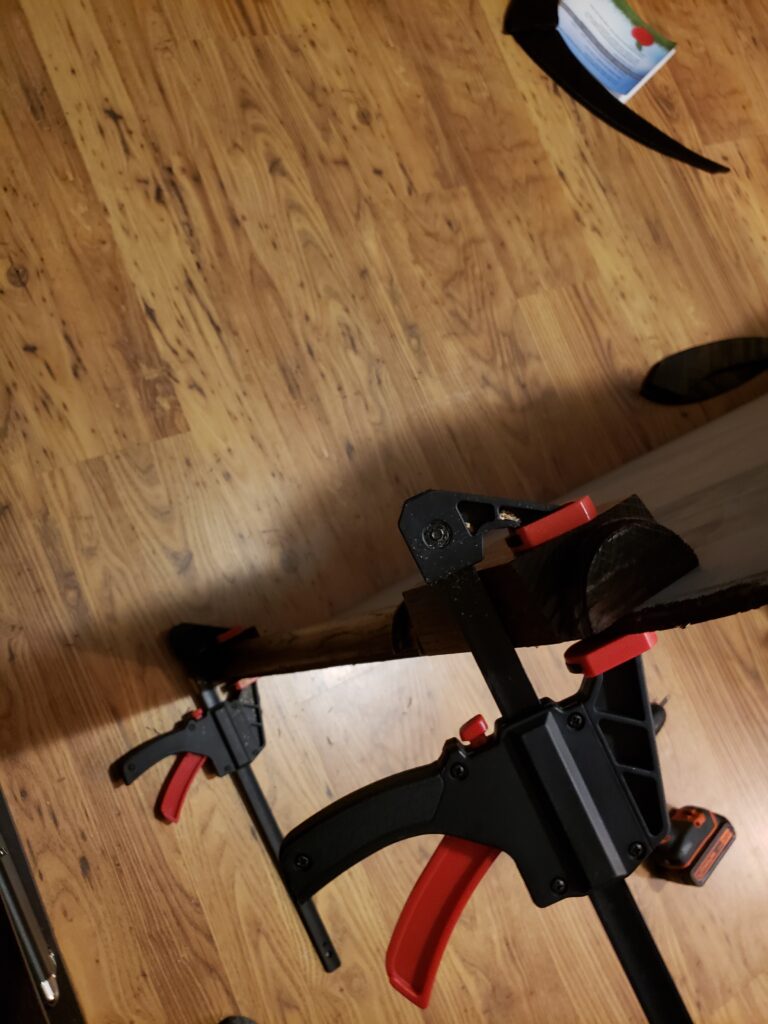
With an extra set of hands (clamps), I held the columns and trim pieces to the board while I screwed them in from the back.

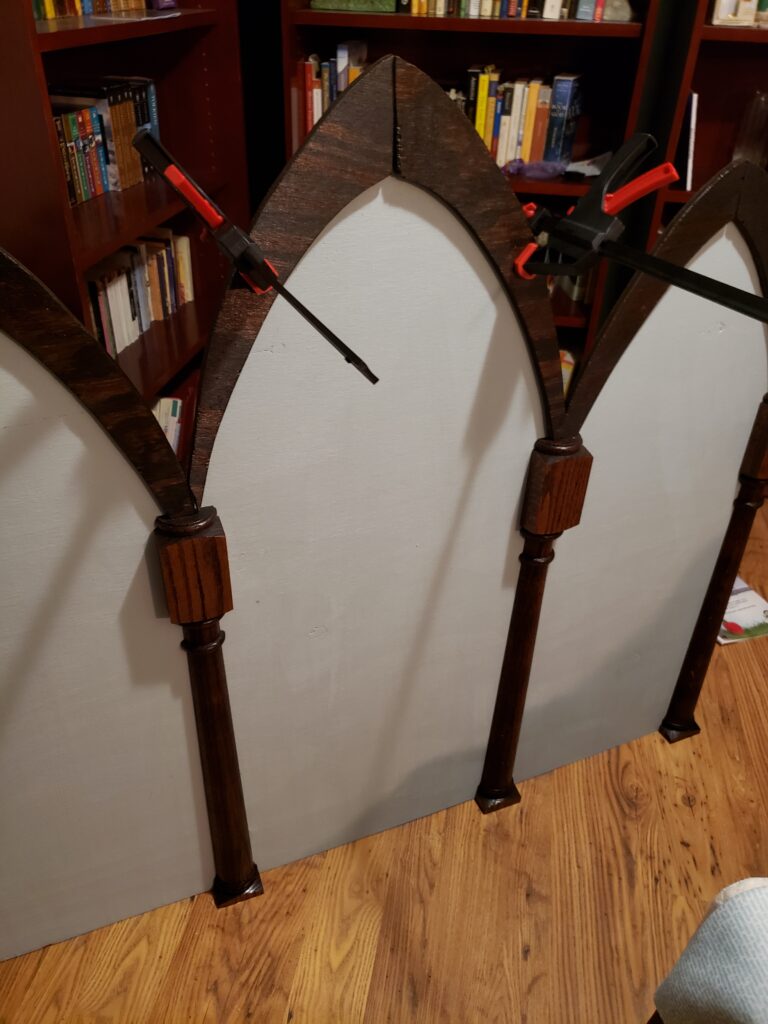
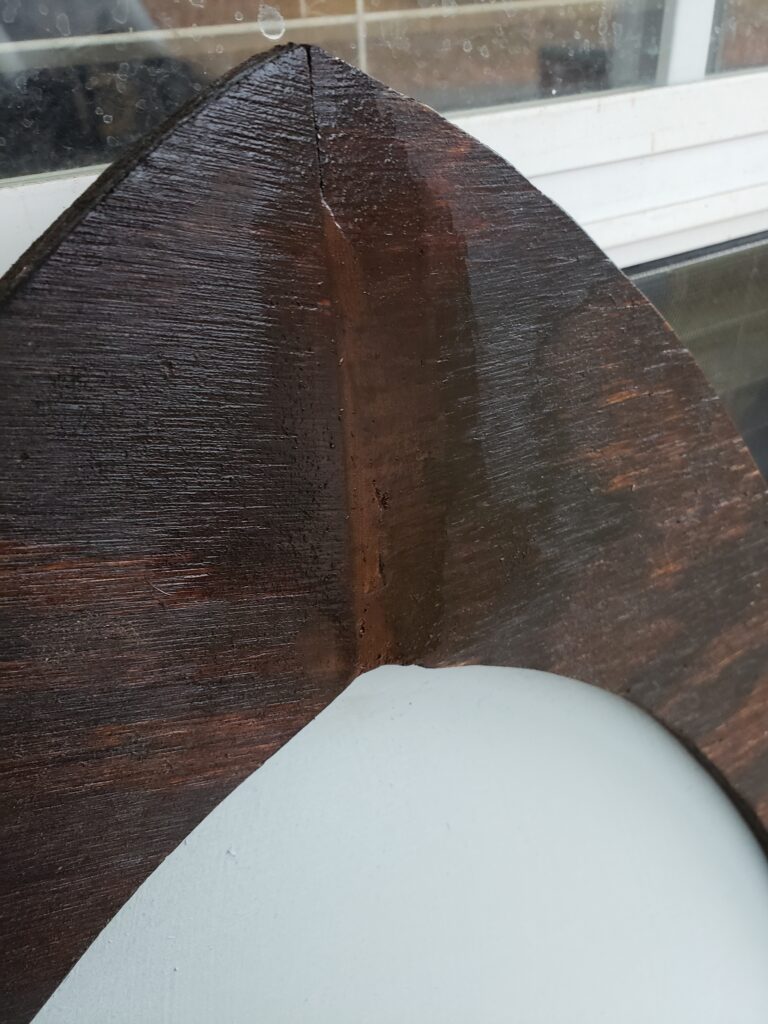
Once the pieces were on I used wood putty and stain to fill in those cracks. I also put wood putty on areas of the plywood that had knots, painting over it once it was dry.
Once it was put together, it was just a matter of using trim screws to secure the retable to studs and rearranging the altar pieces.
Just in time for Advent!